How to Configure Workspaces in Outreach Magic
Step-by-step guide with screenshots
Workspaces are the backbone of Outreach Magic's agency-friendly structure. Each client or brand gets its own workspace, keeping data clean, reporting segmented, and integrations organized. Use this guide to create and manage new workspaces quickly.
Why Use Workspaces?
- • Data isolation: Keep client data separate and organized
- • Segmented reporting: Generate reports per workspace for each client or brand
- • Integration management: Organize integrations by workspace
- • Sender routing: Route senders to specific workspaces
- • Active/inactive control: Toggle workspaces on or off as needed
Configure Workspaces
Follow these step-by-step instructions to create and configure a new workspace in Outreach Magic.
- 1
- 2
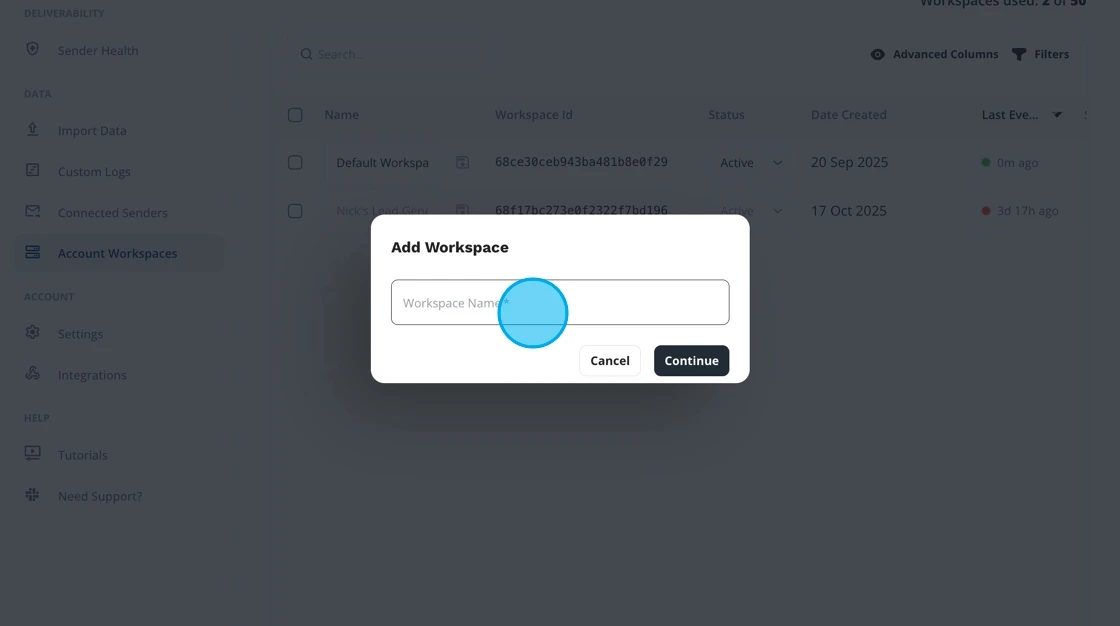
Click "Add Workspace"
Start creating a new workspace for a client, team, or brand.

- 3
Click the "Workspace Name" Field
Enter the name you want to assign to this workspace.
- 4
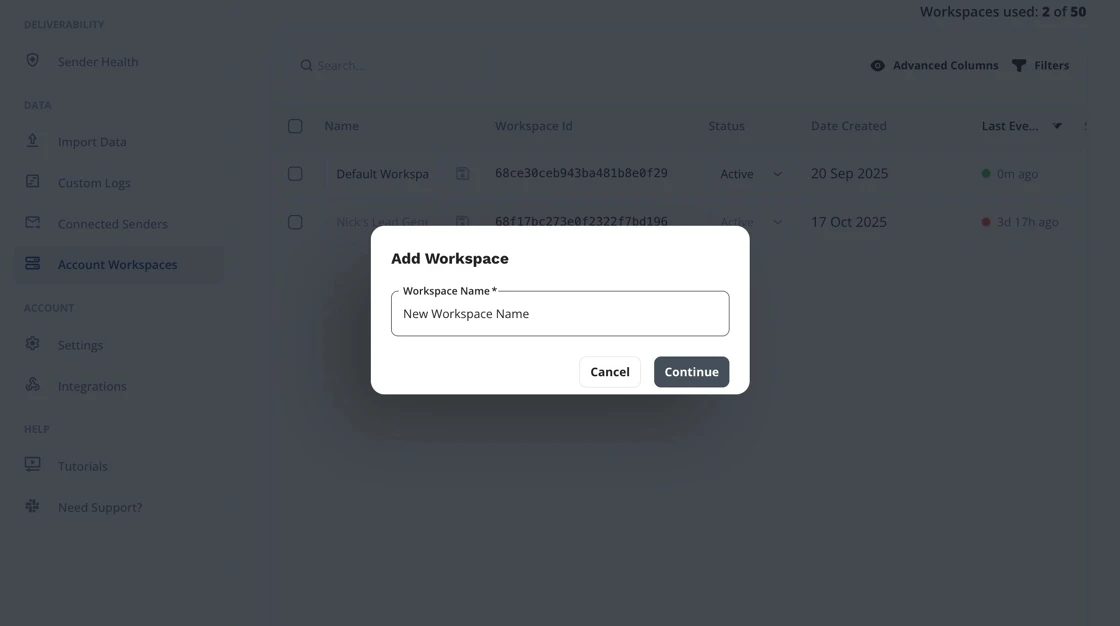
Type the Workspace Name
Example: "New Workspace Name"
- 5
Click "Continue"
Proceed to finalize workspace setup.

- 6
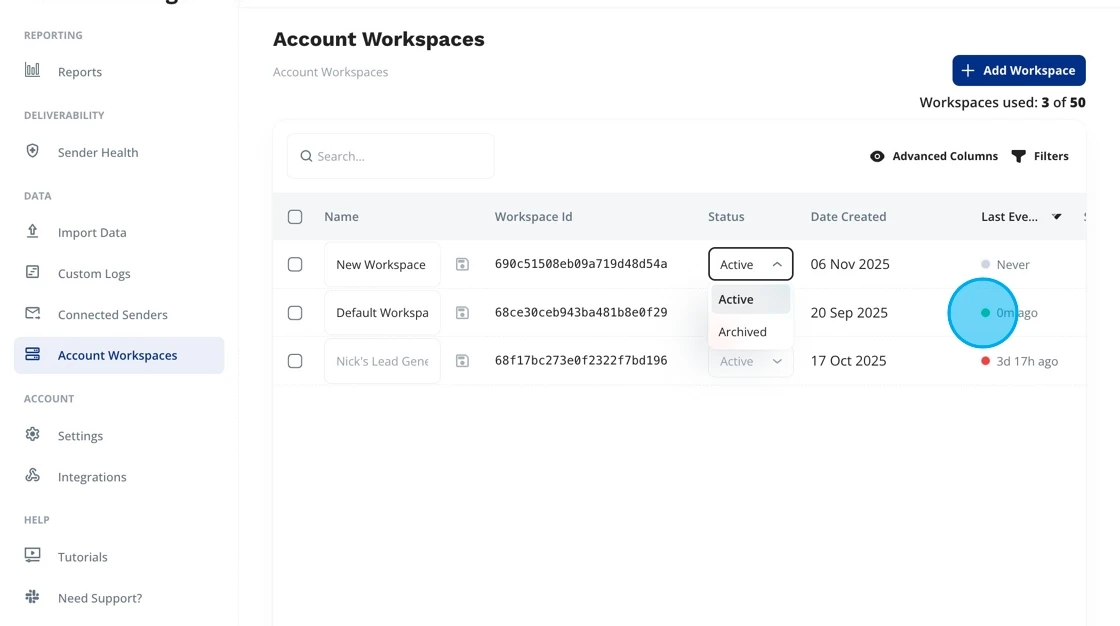
Toggle "Active"
Choose whether this workspace is active. Active workspaces appear across dashboards, reporting, and sender routing.
Tip: You can deactivate workspaces temporarily without deleting them. This is useful for pausing client work or archiving old projects.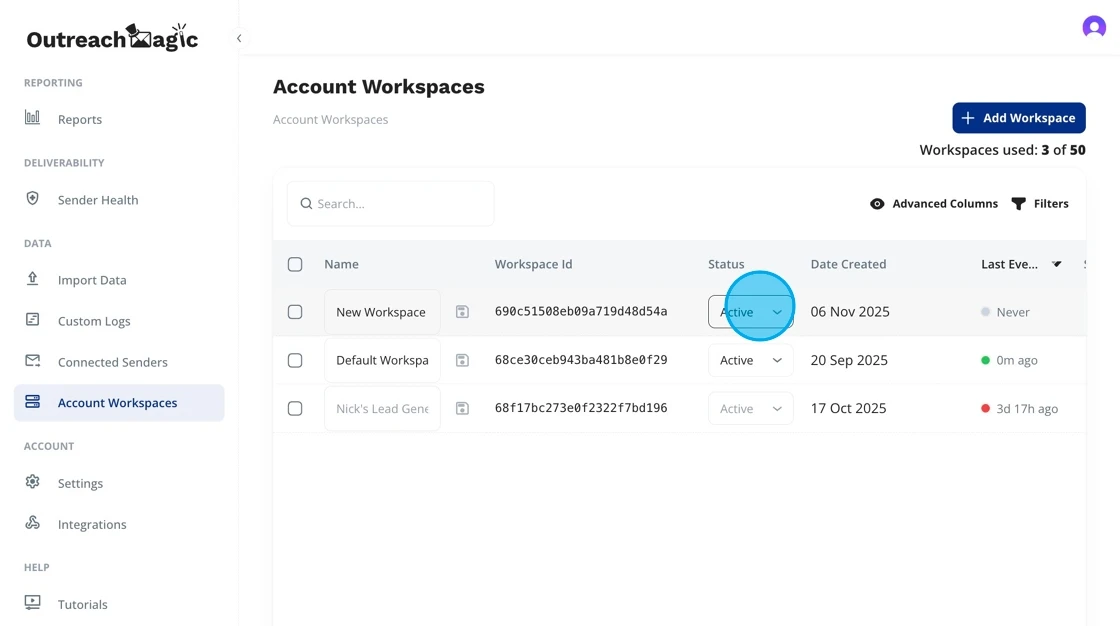
- 7
Click to Save and Configure
Confirm your workspace setup to move forward with sender assignments, integrations, or dashboards.
 Workspace Created! Your workspace is now ready. You can proceed to configure senders, integrations, and dashboards.
 - 8
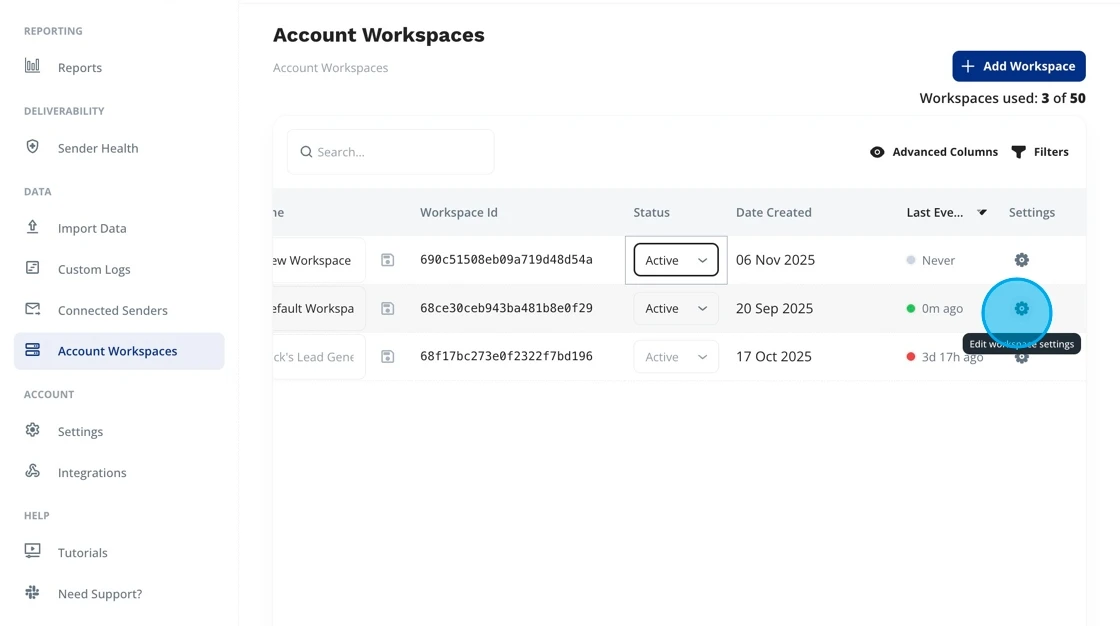
Click the Settings Icon
Open workspace-specific settings for advanced configuration (e.g., routing rules, integrations, dashboards).
 Advanced Configuration: In workspace settings, you can configure routing rules, manage integrations, set up dashboards, and customize workspace-specific preferences.
Best Practices for Workspace Management
Naming Conventions
Use clear, descriptive names for your workspaces. Consider including client names, brand names, or project identifiers to make them easy to identify.
Active vs Inactive
Keep workspaces active only when they're in use. Deactivate completed projects or paused clients to keep your workspace list clean and organized.
One Client Per Workspace
For agencies, create separate workspaces for each client. This ensures data isolation, clean reporting, and easier management of integrations and senders.
Workspace Settings
Regularly review workspace settings to ensure routing rules, integrations, and dashboards are configured correctly for each workspace's specific needs.
What You Can Do Next
Configure Senders
Assign senders to your workspace to route outreach activities correctly. Learn how to configure senders in our documentation.
Configure SendersSet Up Integrations
Connect your outreach tools (Instantly, Smartlead, Clay, etc.) to your workspace for unified reporting and analytics.
View Integration GuidesCreate Custom Dashboards
Build workspace-specific dashboards to track performance, engagement, and key metrics for each client or brand.
Ready to Configure Your Workspaces?
Start organizing your outreach data with workspaces and unlock powerful agency-friendly features.